
Magnetic resonance imaging (MRI) is a non-invasive diagnostic technique that uses a powerful magnetic field and radiofrequency waves, instead of ionising radiation, to generate high-resolution, cross-sectional images of the body’s internal structures. By aligning hydrogen protons within soft tissues and processing the resulting electromagnetic signals, MRI provides exceptional contrast resolution for evaluating neurological, musculoskeletal, and oncological conditions.
First off, throw out everything you know about standard X-rays. MRIs don’t use radiation at all. Instead, a massive magnetic field paired with radio waves builds a detailed, slice-by-slice map of your soft tissues, joints, or spine. When doctors need to look deep inside a torn ligament or check neural pathways with absolute precision, this is the tool they rely on.
Getting ready for the appointment is pretty simple, but there are strict safety protocols you cannot ignore. Metal and high-powered magnets are enemies. You’ll be asked to strip away watches, belts, jewellery, and hair accessories before stepping into the room. Anyone carrying a pacemaker, surgical clips, or old shrapnel needs to speak up immediately because certain metals simply cannot handle a magnetic field. Unless your doctor specifically requested an empty stomach for an abdominal scan, you won’t even need to fast beforehand.
Cost is another huge factor on everyone’s mind. Walking into a massive corporate medical centre in the city often leads to an unexpectedly painful bill. That’s precisely why patients spend time comparing MRI scan costs in Pune and frequently choose dedicated networks like Krsnaa Diagnostics. Sticking with specialised imaging centres keeps healthcare bills grounded. Just keep in mind that if your doctor ordered contrast dye, that extra fluid will shift the final price.
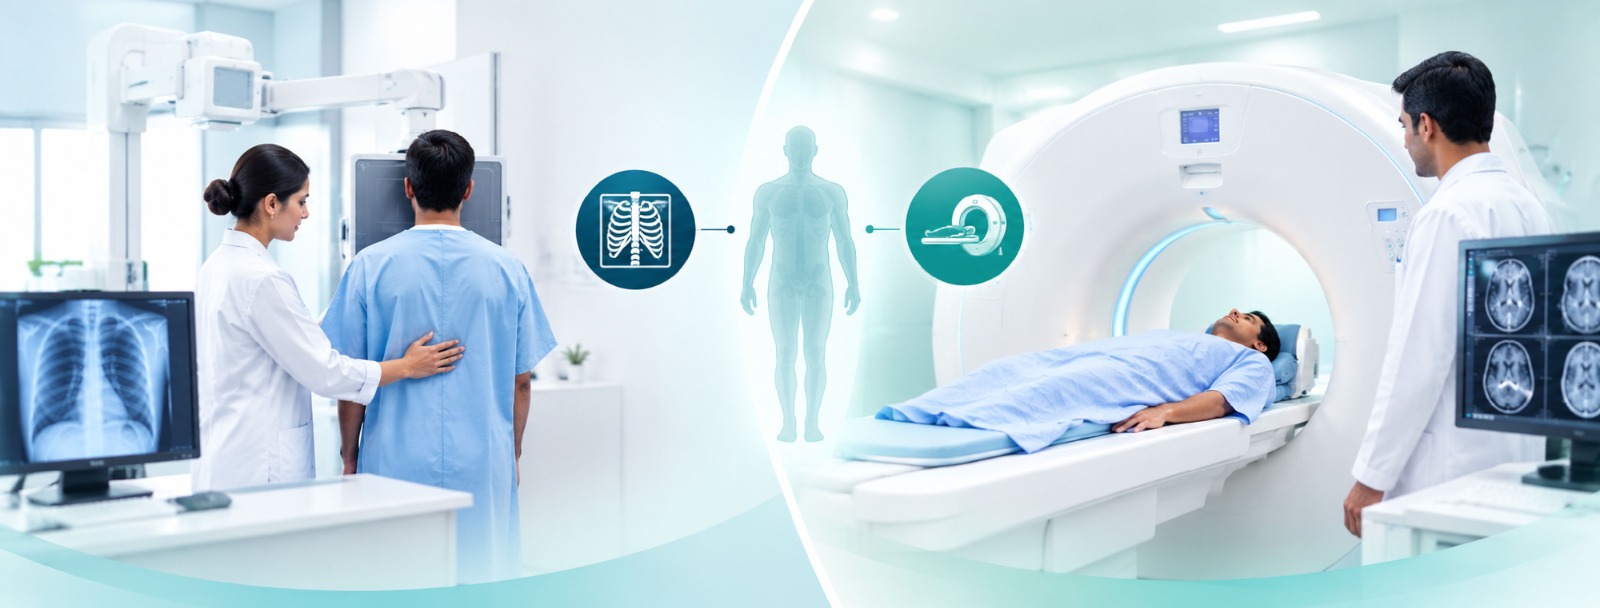
A standard hospital gown is mandatory when you go inside the scan room. The technician will position you on a sliding examination table that guides you into the scanner cylinder. It gets loud, really loud. Expect steady clicking, thumping, and heavy buzzing sounds. Fortunately, staff hand out earplugs or headphones right away. If small spaces make your chest tighten up, tell the team beforehand. They can hand you an emergency squeeze ball and check in through the intercom.
The hardest part of the entire appointment is simply staying dead still. A single twitch or sudden shift blurs the digital images, forcing the technician to run the sequence all over again. Most scans finish up anywhere from fifteen to forty-five minutes depending on the body part.
After you are finished, waiting for the results can sometimes cause a fresh wave of anxiety. Typically, a qualified radiologist has to carefully review every single slice of the digital imaging data, cross-reference it with your medical history, and compile a formal report for your primary physician. This review process usually takes anywhere from twenty-four to forty-eight hours, though urgent cases can sometimes be expedited. Once the report is ready, your doctor will walk you through the findings, explain what the images show, and help you map out the next steps for your treatment or recovery plan. Once the machine stops, you just grab your belongings and walk right back out to your day.